Temperature Triggered Light
Step 1 - Build the Project
Use a temperature sensor to trigger an LED when a temperature threshold is met.
Step 2 - Upload the Code
Step 3 - Read the Walkthrough
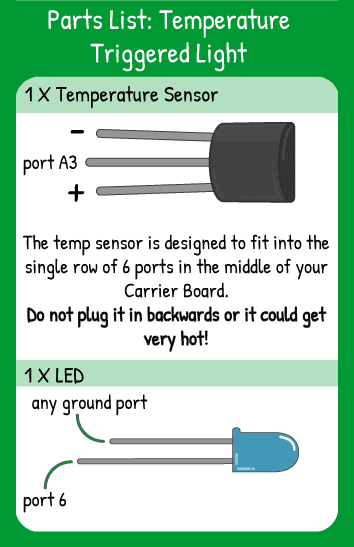
First, set the pinMode of your temperature sensor's center pin as an INPUT. Ensure that you have the outer legs plugged in the correct orientation to + and - or the sensor will get very hot. Set the LED as an OUTPUT.
The integer variable you create is tempF and it converts the analog reading into a Fahrenheit value that you can use. The numbers 0.88 and 58.0 are specific to this sensor, so don't worry about those. Look at "float(analogRead(A3))" in the middle of the declaration. That is called a cast. It means "for this one line of code only, take the analog reading (an int) and use it as a float". If you don't do that, the reading will continue to act just like an int, cutting off all decimal places in the math that you're doing.
Here's a curveball: Just to the right of the = sign next to tempF, you see the letters "int". That means you're re-casting the variable to an int. The steps are as follows: Make the analogRead(A3) a temporary float. Do some decimal-math with tempValue as a float. Then, turn that result back into an int. The value of that integer is your tempF variable.
Now that you've done all the math to get a temperature value from analogRead, you can compare that temperature to your threshold and act on it using an if statement. The if statement checks if the tempF variable is higher than 75 degrees. If it is, pin 7 is written HIGH with digitalWrite, turning the LED on.
The else statement happens when the if statement is not true. You can also think of it like an 'otherwise' statement. In this case, the LED is turned off via digitalWrite() any time the temperature is below 75 degrees.


