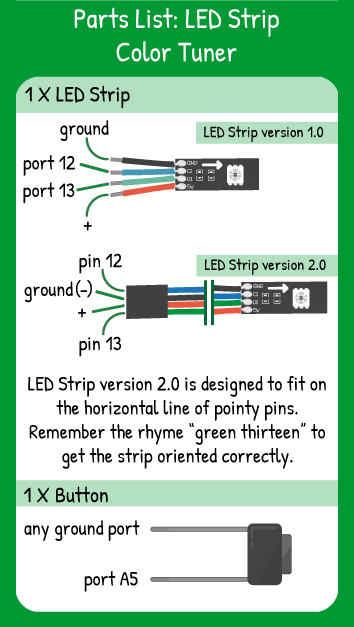
LED Strip Color Tuner
Step 1 - Build the Project
Hold down a button to cycle through the colors of the LED strip with all of the pixels at the same time.
Step 2 - Upload the Code
Step 3 - Read the Walkthrough
First include the LEDStrip library. This library gives you access to a new set of commands (called methods) that make using the LED Strip easier. Without including the library, the Arduino software won’t recognize the new methods.
Next, create an integer called numPixels. Its value should be equal to the number of LEDs on your strip.
The variable called color refers to a value -1 to 300. It will change throughout the code.
In the setup() section, set a single button on pin A5 to pin mode INPUT_PULLUP. This way, the button is sending a HIGH signal by default. When it is held down, it sends a LOW signal to pin A5.
The if statement in the loop is true when then button is pressed down. The color variable is updated to increase by 1.
That new value is then ‘modded’ by 300. This looks tricky, but it’s actually a useful tool called modulo. You know that the value of color can only reach 300. Imagine color is equal to 300. 300+1 = 301. 301/300 is 1 with a remainder of 1. So in this case, the color value now updates to 1. Next time through the loop, color will update to 2. 2/300 is 0 with a remainder of 2, so that color is not modified by the modulo.
Whether or not the button was pressed, the .setPixel method will set the entire strip (strip.ALL) to value of the color variable and draw the color value to the strip with strip.draw().


